Starter Plan Access
WordPress, Domain, Hosting
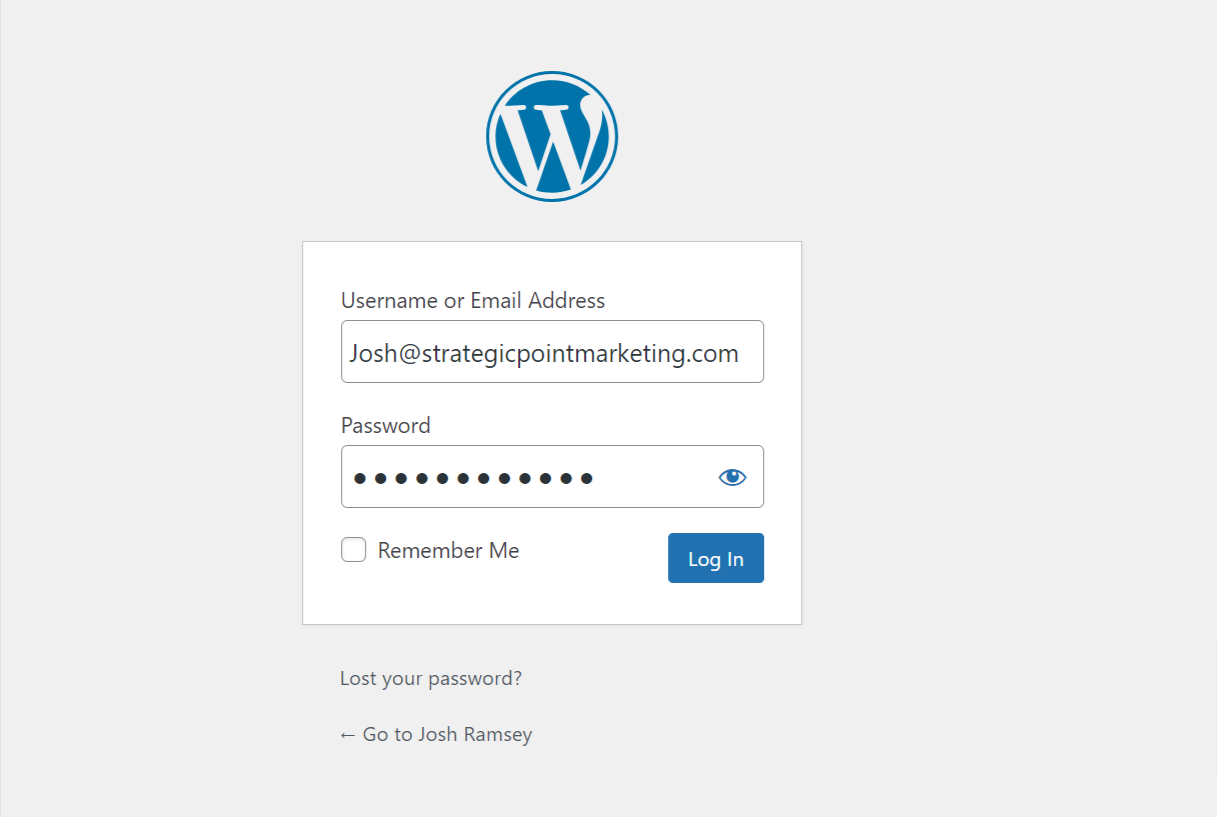
How to log in to your WordPress Website
- Go to wordpress admin URL (ex: https:example.com/wp-admin)
- Enter your username & password
How to create user
- After login, go to “users” menu/nav in sidebar.
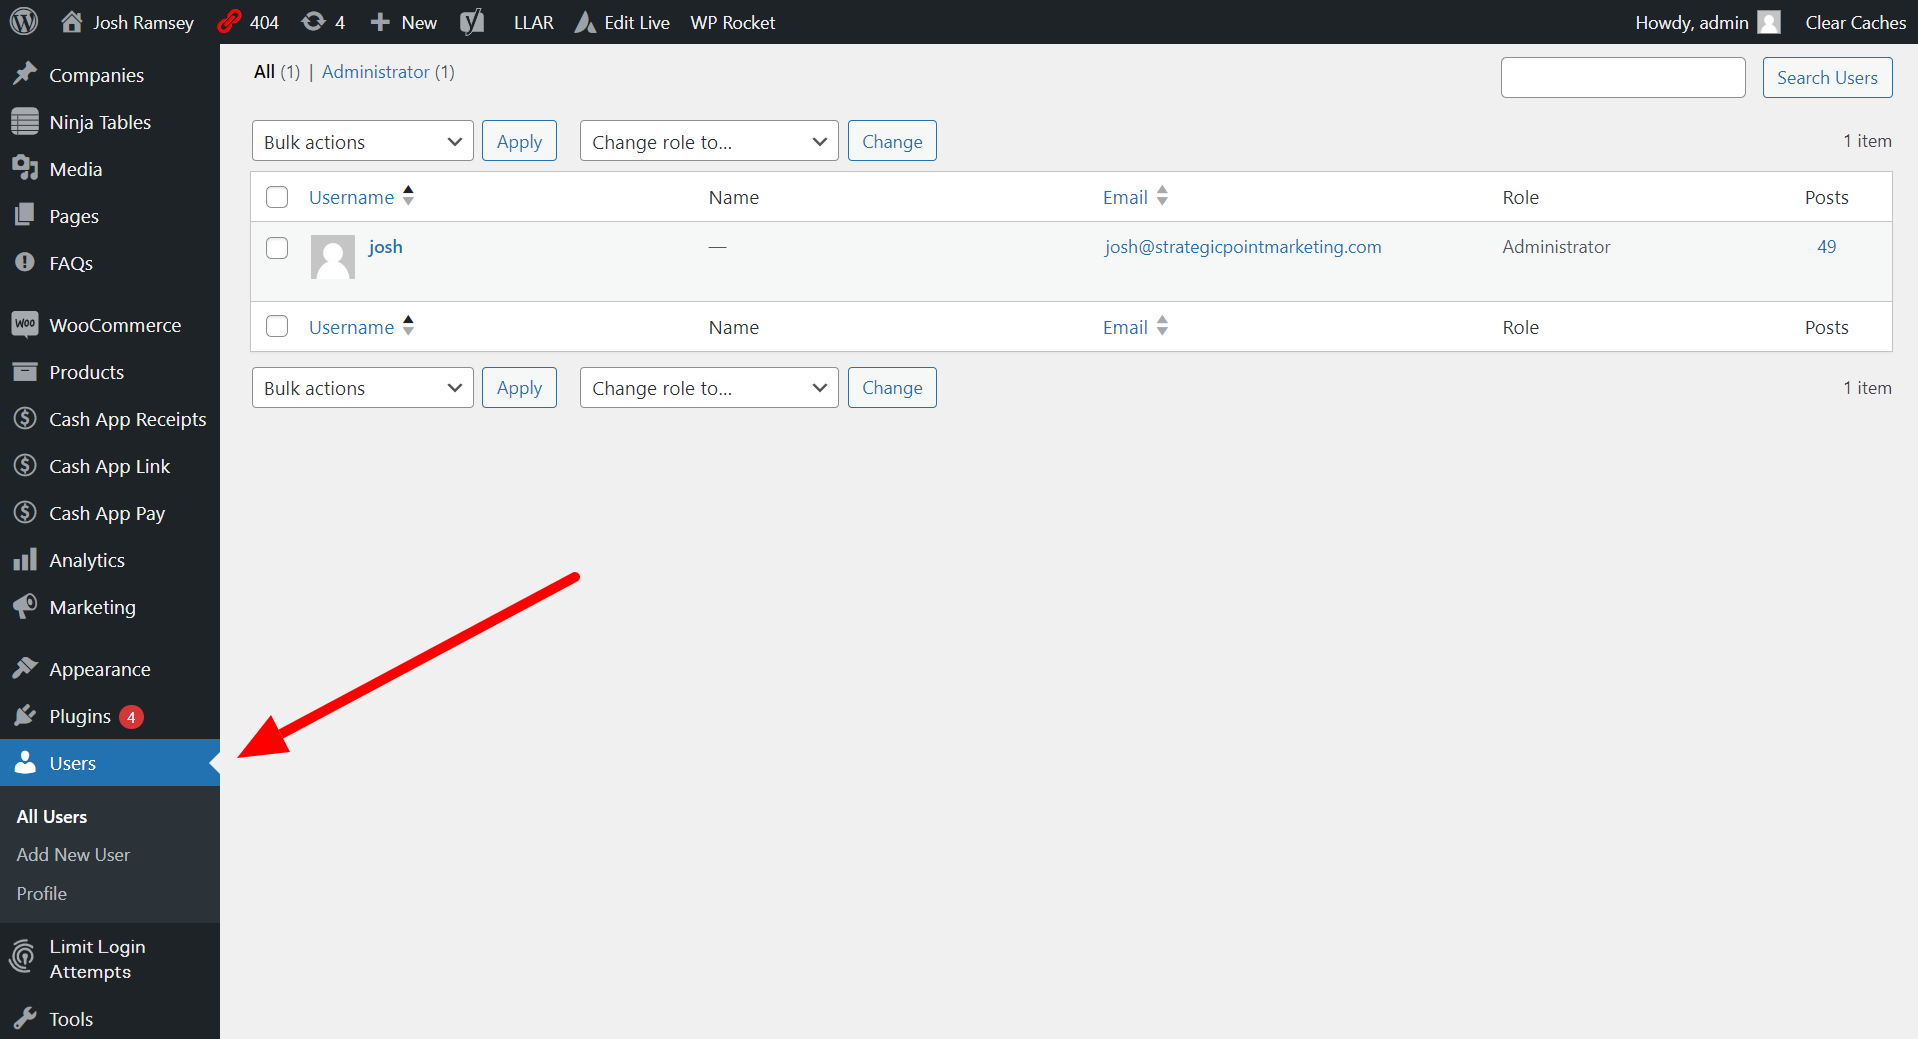
- Here you can see list of all users.
- Next, click on “add new user” in sub menu/nav.
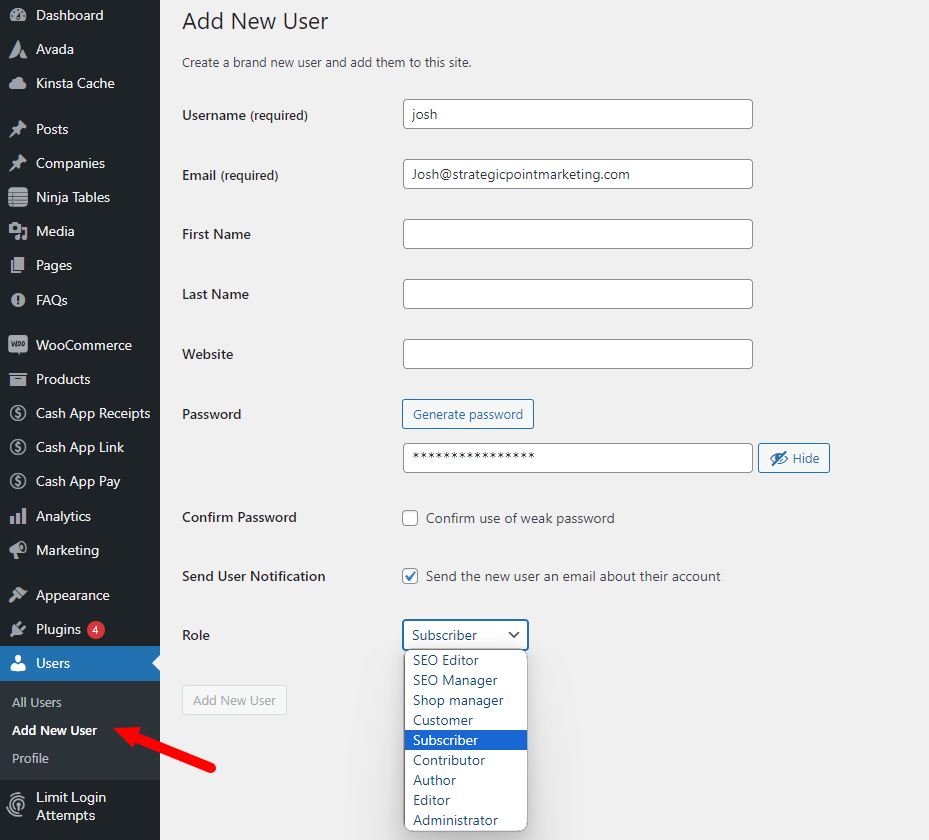
- Add email, password, and other information with user registration details.
- Choose user role as admin.
Roles & Permissions: Inviting People to Collaborate on Your Site
Invite people to collaborate on your site with Roles & Permissions. Each role includes a list of permissions, so you can control who can make changes on your site and dashboard. You can change collaborator roles, create custom roles, and remove collaborator access as needed.
To send an invite:
1.Go to Roles & Permissions in your site’s dashboard.
2.Click Invite Collaborators.
3.Enter your collaborator’s email address.
4.Select the checkbox next to the relevant role/s.
5.Click Send Invite.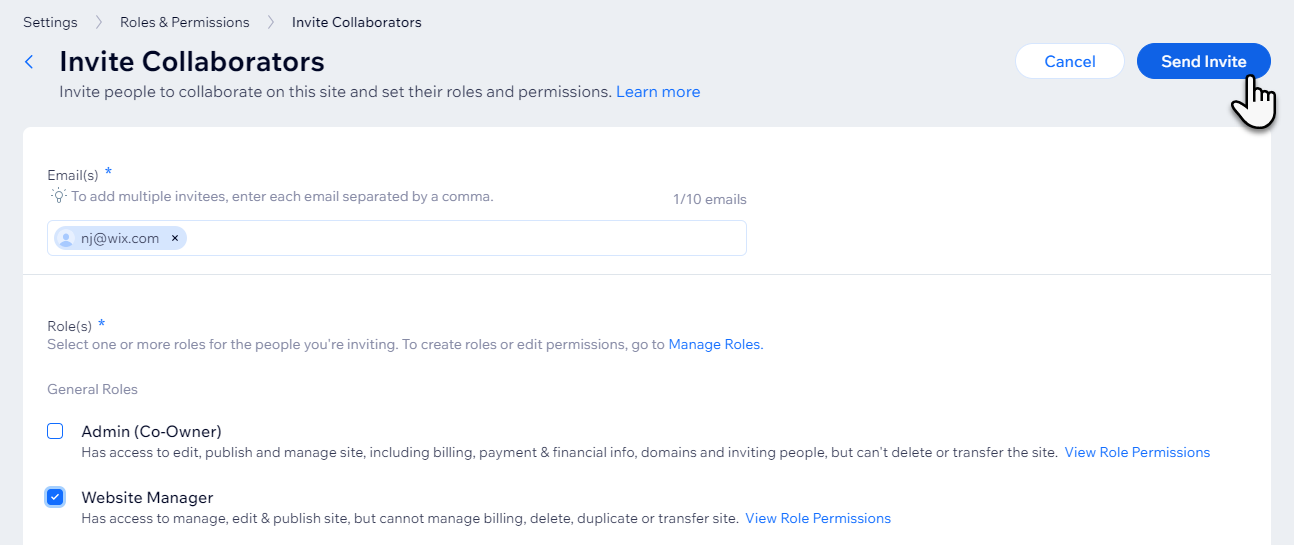
Note:
Wix sites have 1 free collaborator seat as standard. To get more collaborator seats, you will need to upgrade your site.
If you already have more collaborators than your plan allows, they can remain as collaborators. However, you will not be able to invite new collaborators until you upgrade your site.
Keep track of how many collaborator seats you have filled with the progress bar on the Roles & Permissions page of your dashboard’s Settings.
Checking the status of a collaborator invitation
To find out if a collaborator has accepted their invitation, go to Roles & Permissions in your site’s dashboard. If there is a ‘PENDING’ label next to their name, they have not yet accepted your invite.
In the ‘Joined on’ column, you can find out when you sent the invite, and how many days are left until their invite expires. Invitation emails are valid for 30 days.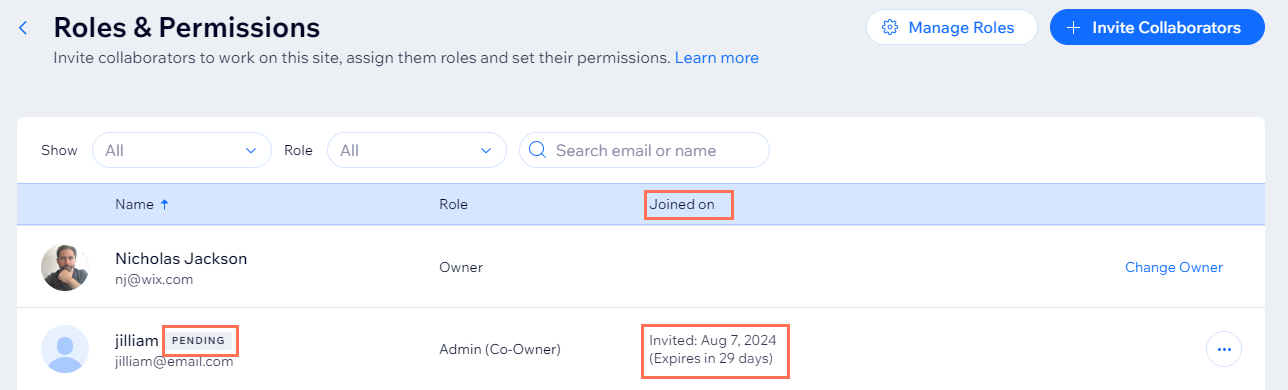
Resending an invitation
You can resend a collaborator invitation at any time before it has been accepted, even if the invitation has expired. You can choose to resend the invitation via email through Wix, or retrieve a link to the invitation and send it directly to your collaborator.
To resend an invitation:
1.Go to Roles & Permissions in your site’s dashboard.
2.Hover over the relevant person and click the More Actions icon  .
.
3.Choose how you want to resend the invitation:
Send it through Wix: Click Resend Invite. Wix will resend the invitation to the email address that you entered.
Tip: Ask your collaborator to check their spam folder if they don’t see it.
Send it myself: Click Get Invite Link. The link is automatically copied to your clipboard. Paste it in an email or chat message to your collaborator.
Note: This feature is currently not available in Safari.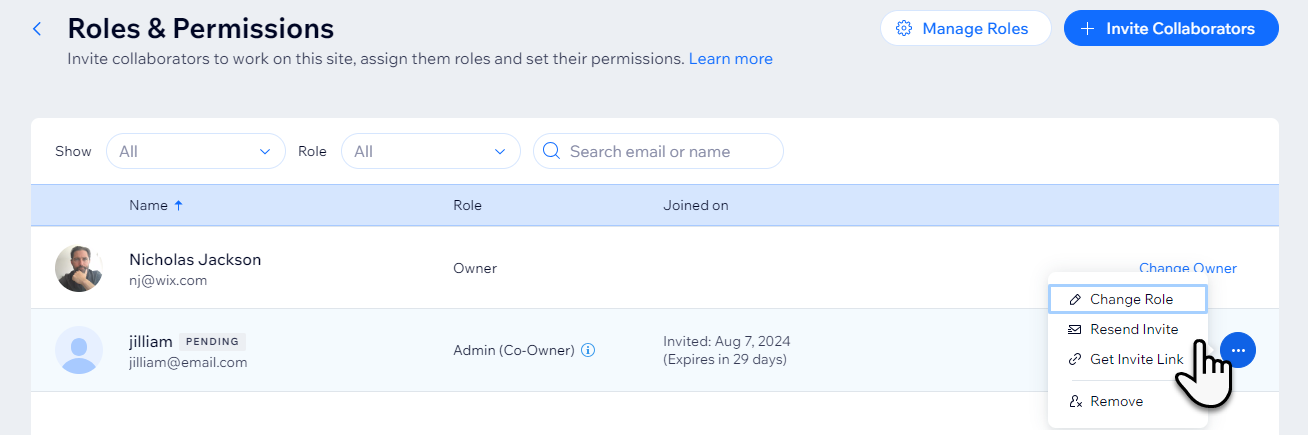
- Go to your GoDaddy Delegate Access page. You might be prompted to sign in.
- In the People who can access my account section, select Invite to Access.
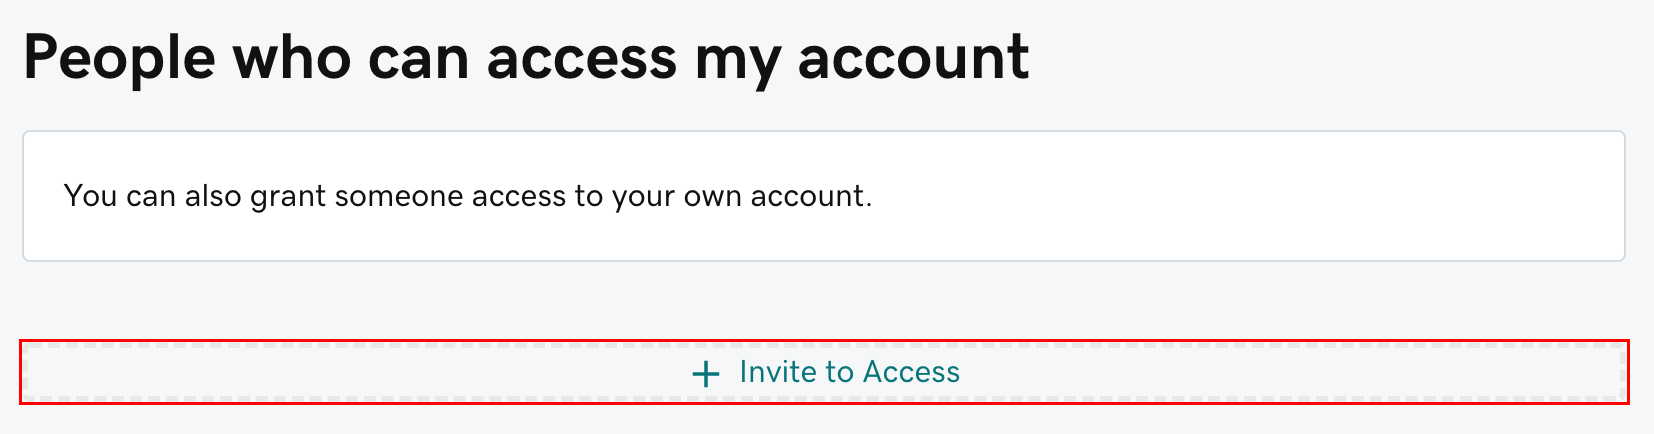
- Enter the Name and Email address for the person you’re in viting.

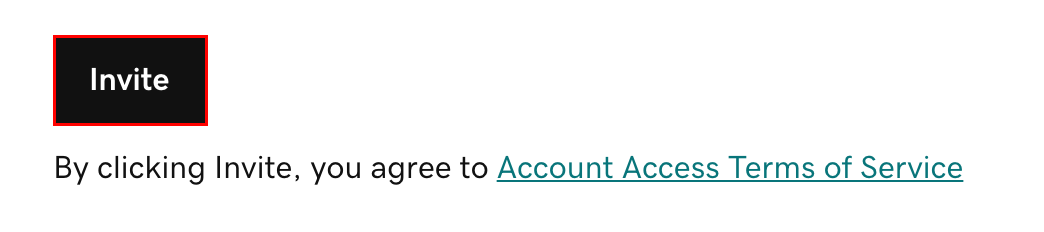
- Select one of the access levels. If you’re not sure what this means, read our explanation of access levels.
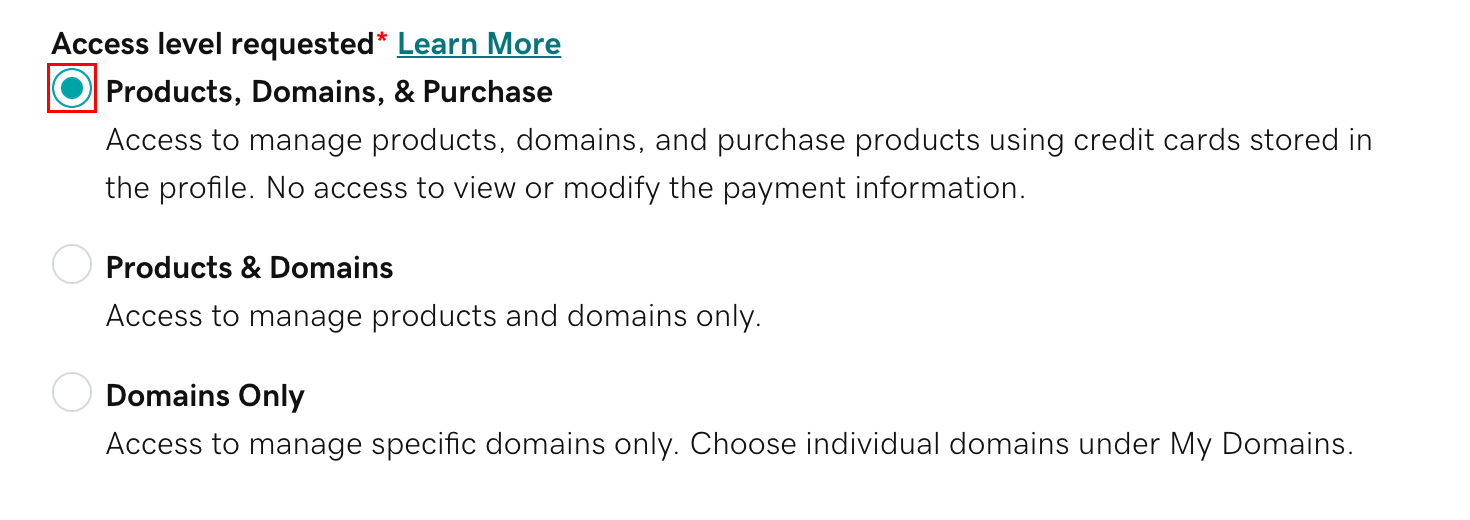
- Select Invite. We’ll send the person an email invitation to access your account. Once the person accepts, we’ll let you know.
More info
Learn more about delegate access.
To give others access to your Hosting account, add them as FTP users so they can also upload files or manage your site. You can limit what these users can access, and how much they can upload.
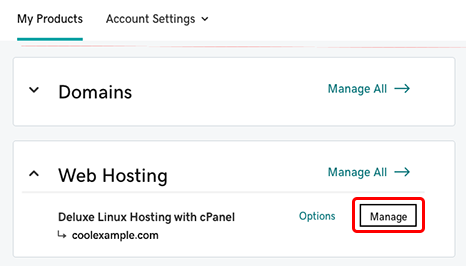
- Go to your GoDaddy product page.
- Under Web Hosting, next to the Hosting account you want to use, click Manage.
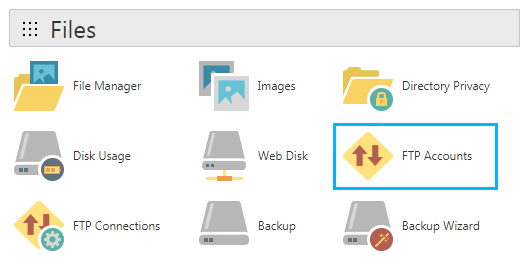
- Navigate to your GoDaddy cPanel and open FTP Accounts menu.
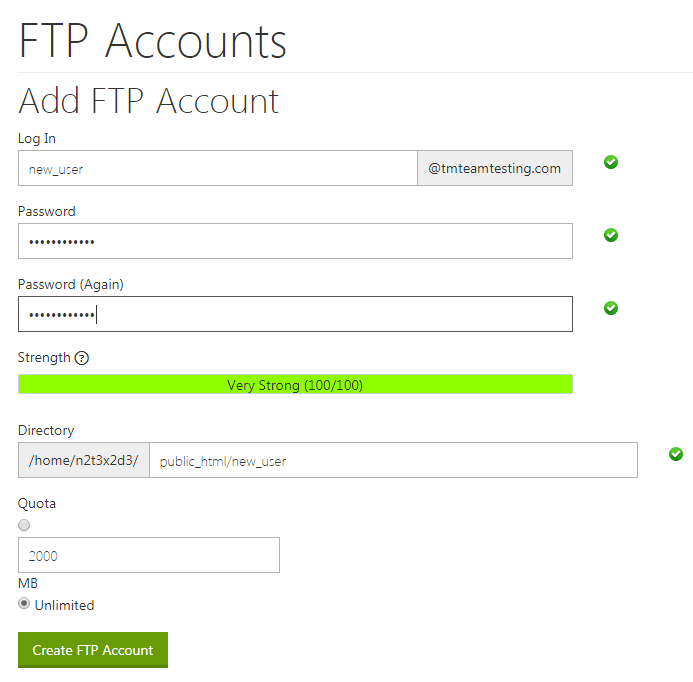
- In the newly opened FTP Accounts window you need to fill in all the required fields to add a new FTP user account. Here you need to set the username, password. Then define a directory to which the new FTP user will have access, and select the preferable quota for uploading. Then click on Create FTP Account button to create a new FTP user.
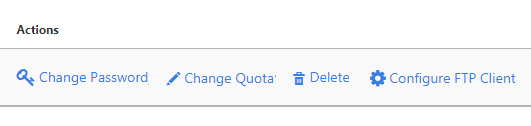
- In the field below you’ll be able to see the list of FTP users and change their permissions and uploading quota. You’ll also be able to delete the users.
Google Analytics
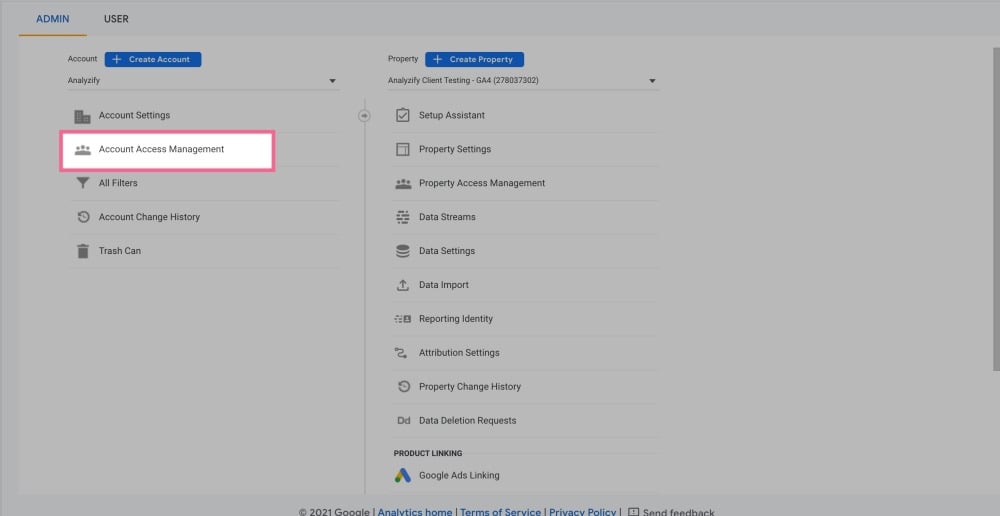
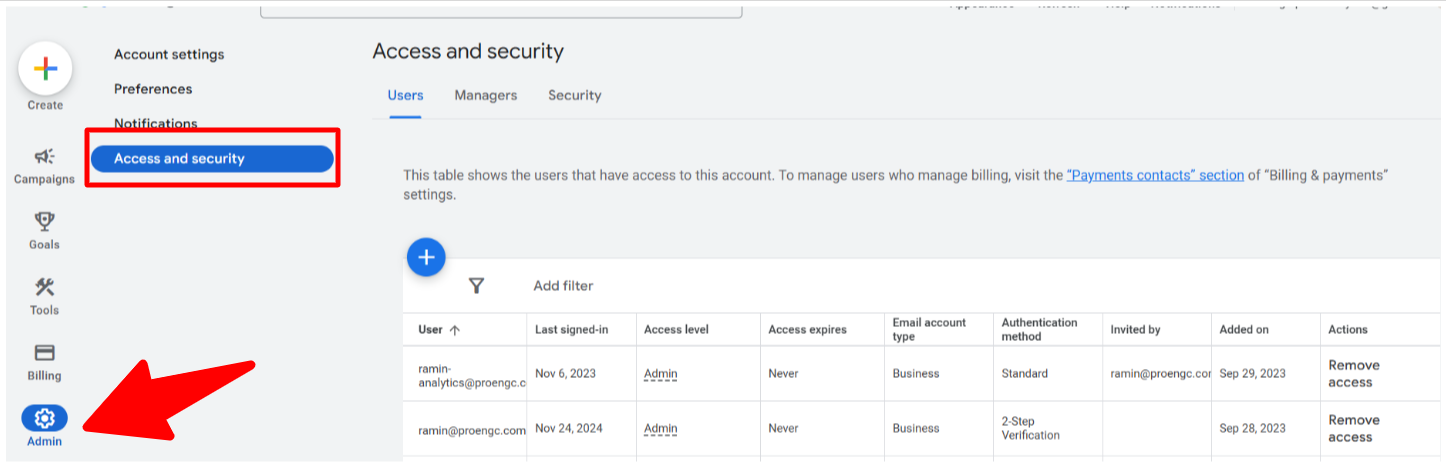
Navigate to “Admin” and click on “Account Access Management” under the “Account” column.
Click on “+” for “Add users.”

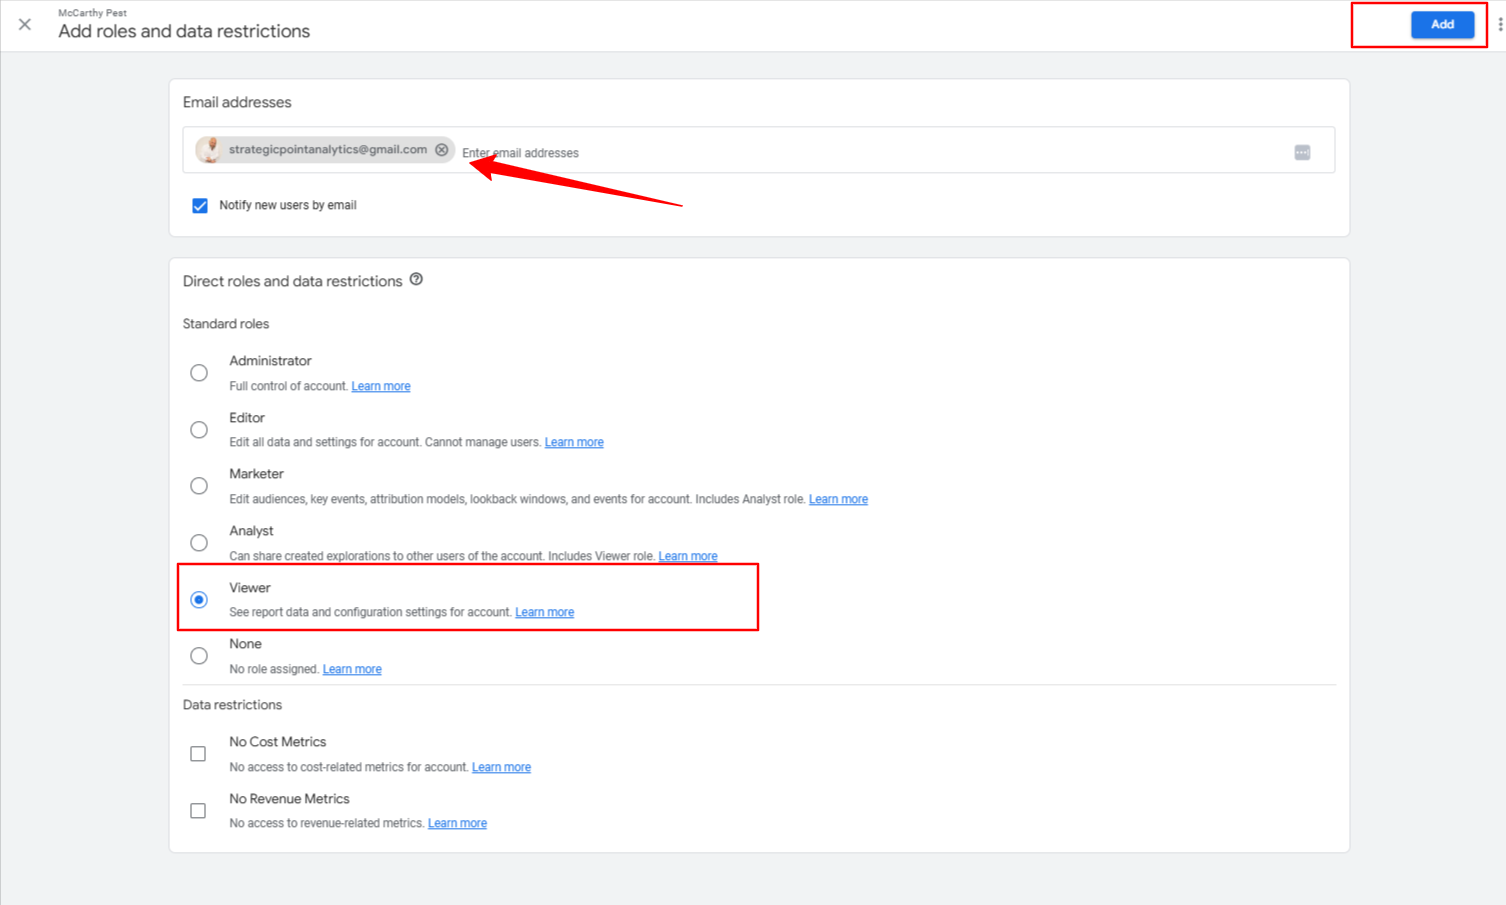
Enter this email address – strategicpointanalytics@gmail.com – and choose the “Editor” option.
Click “Save” to confirm that you have invited a new user to grant access for your GA4 account.
Search Console
Navigate to https://search.google.com/search-console/ in your browser and log in to your Google Search Console account.
Make sure you are logged in using the Google account that is the Owner of the website property you want to share (see more detail about Google Search Console permissions below).
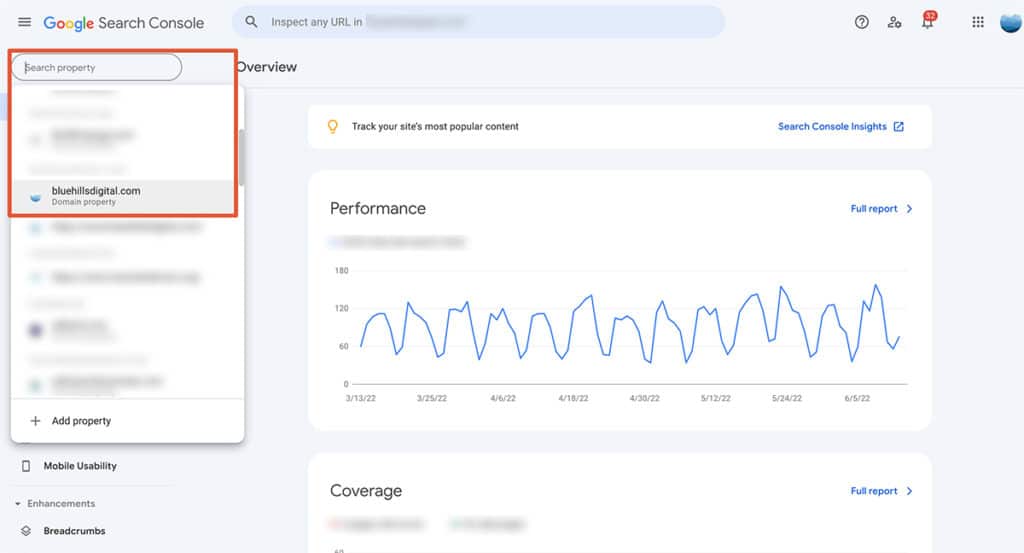
If you have access to more than one website property in Google Search Console, make sure the correct property is selected in the drop-down menu on the top-left side of the screen:
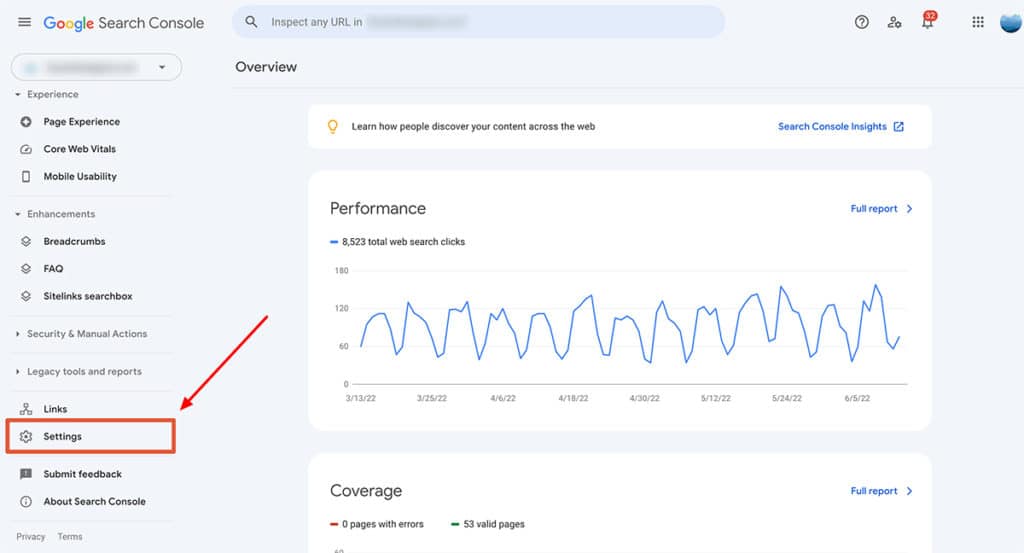
Click on the Settings link at the bottom of the left menu bar:
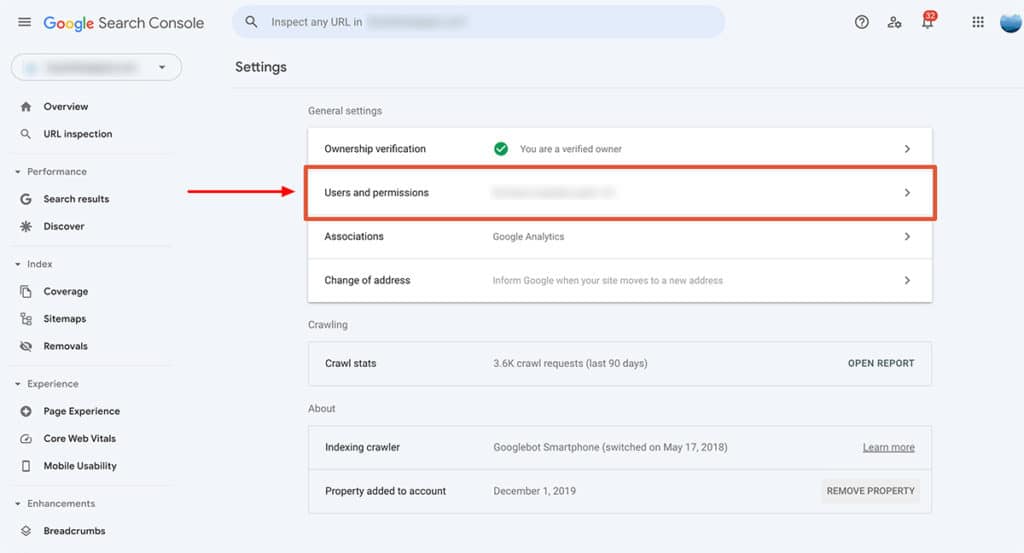
Click on the Users and permissions section of the Settings screen:
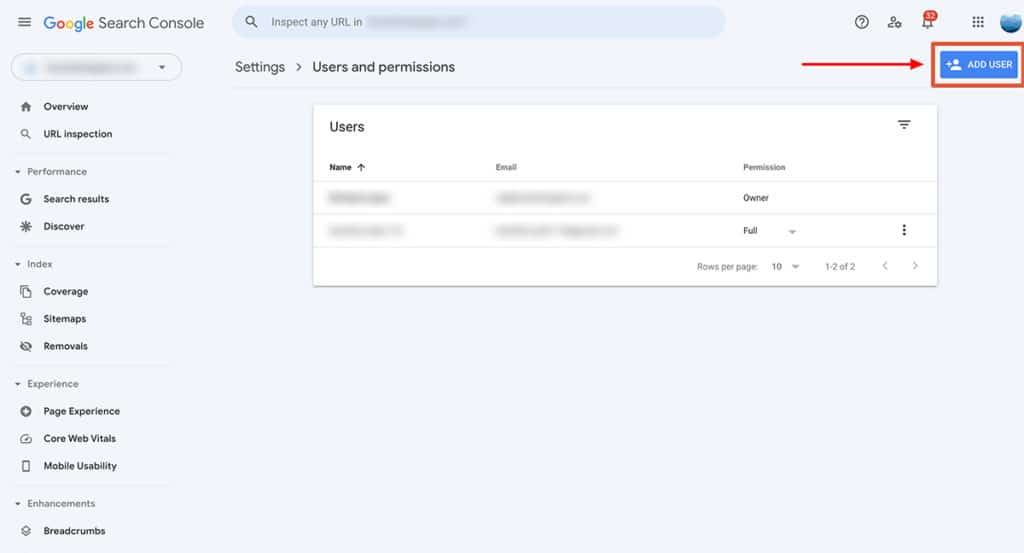
Click on the blue “Add User” button top-right:
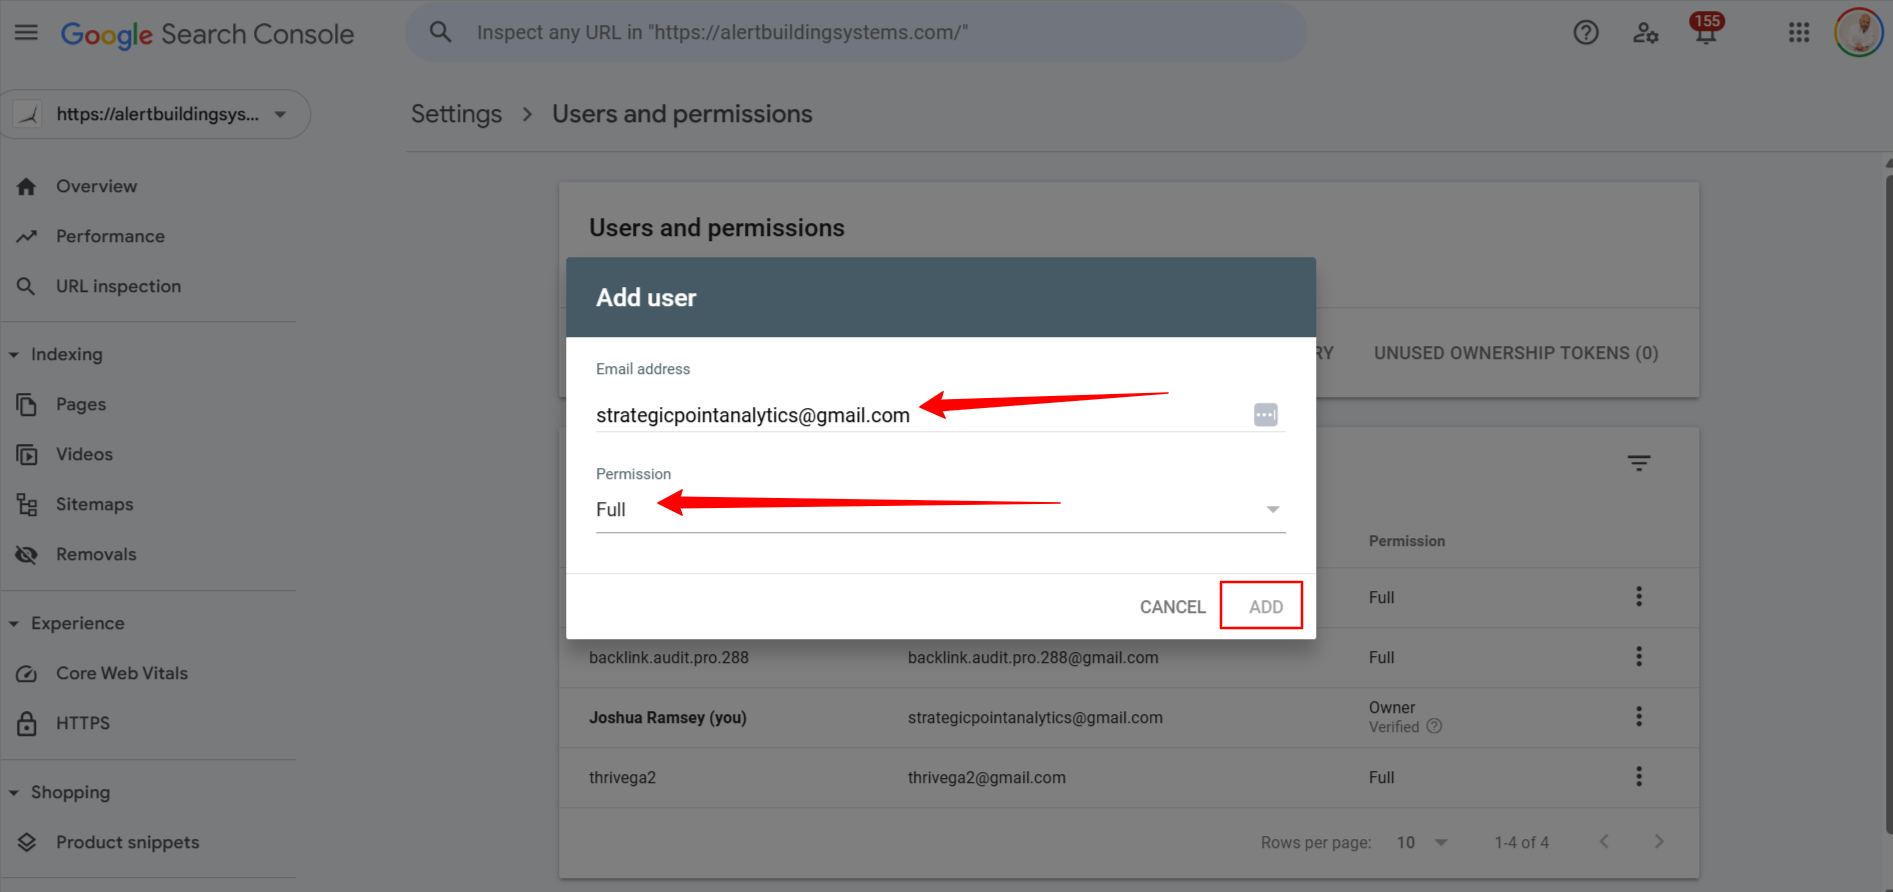
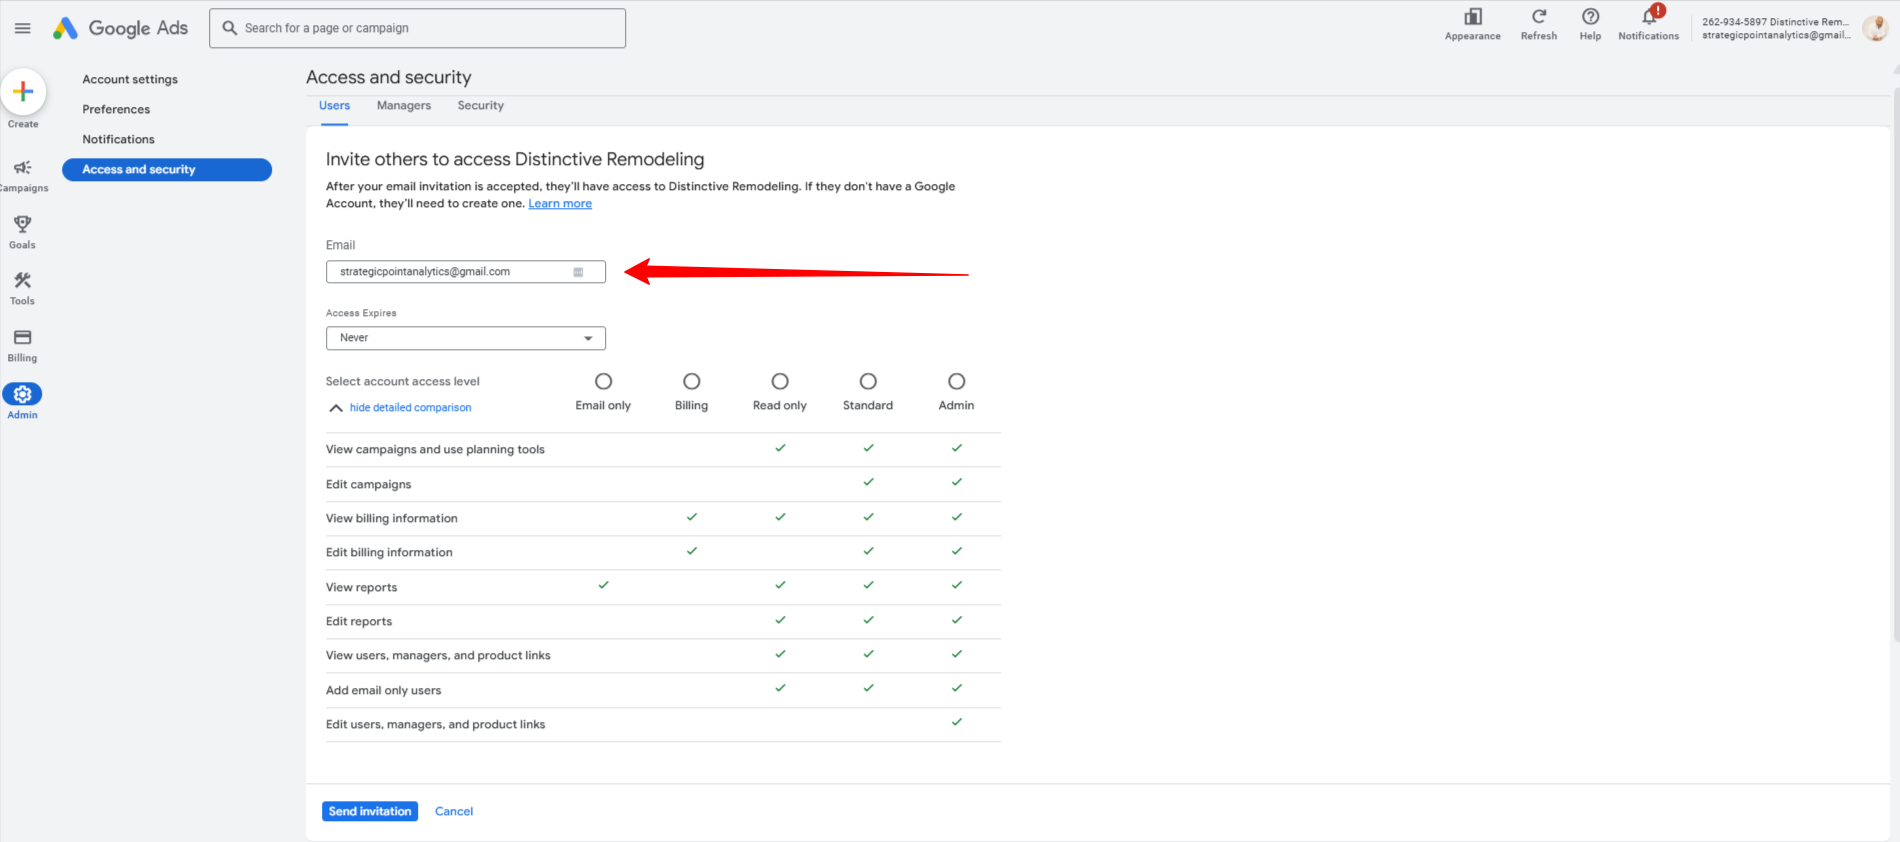
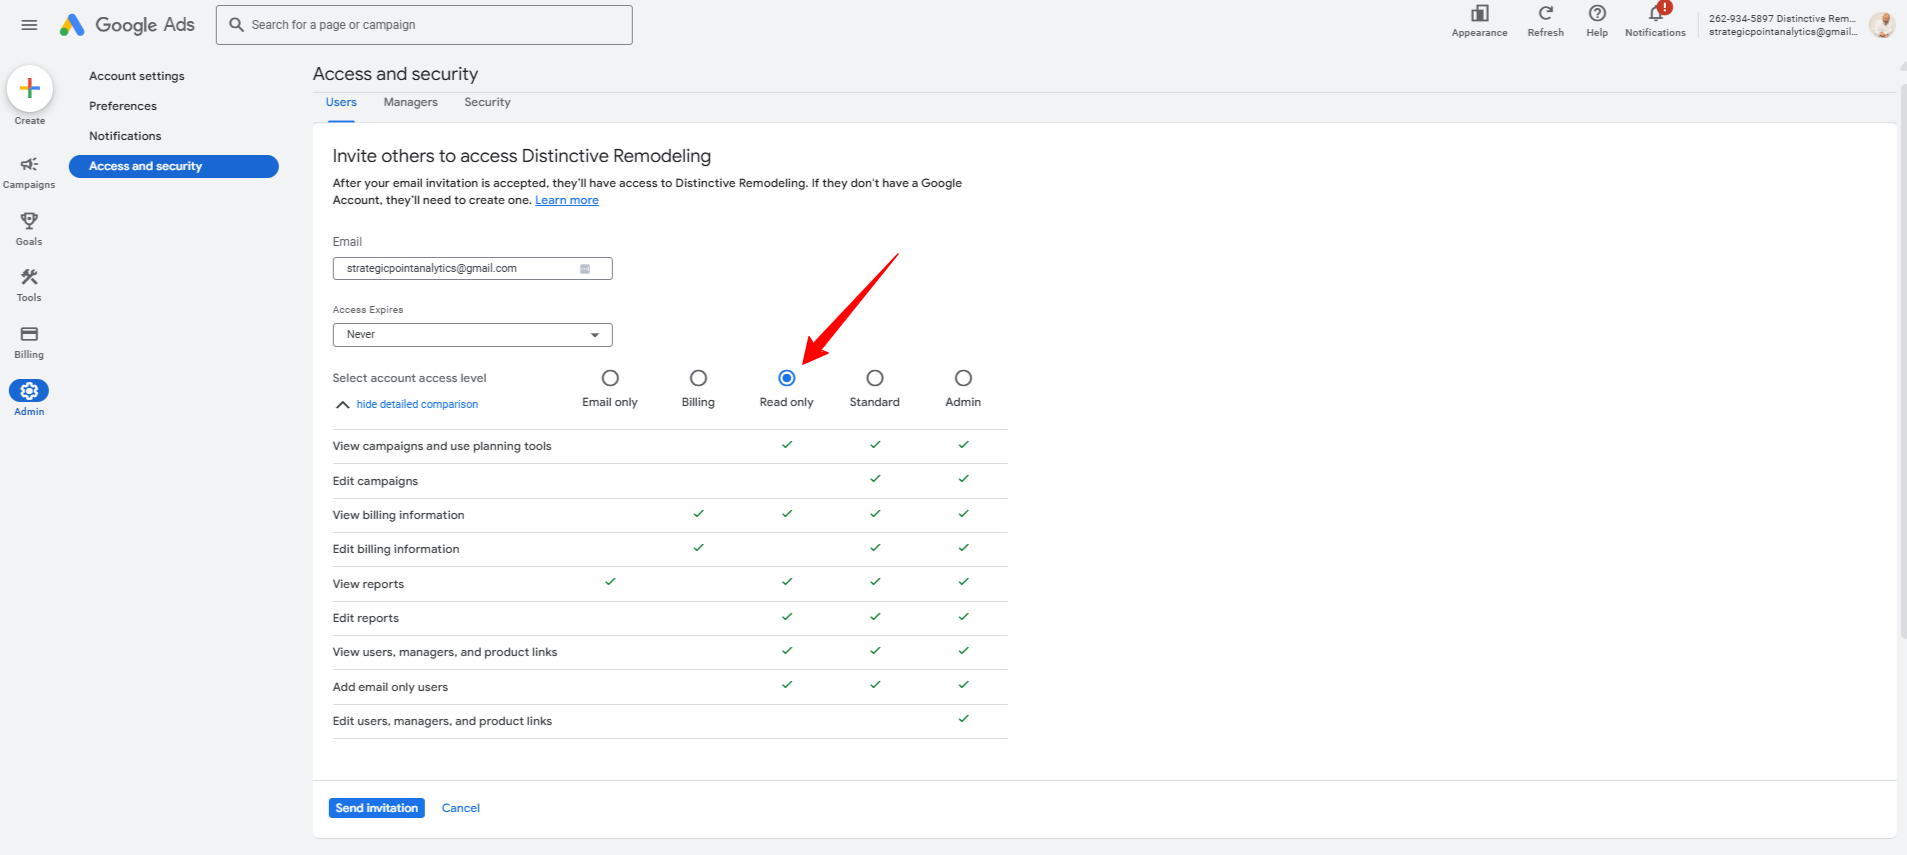
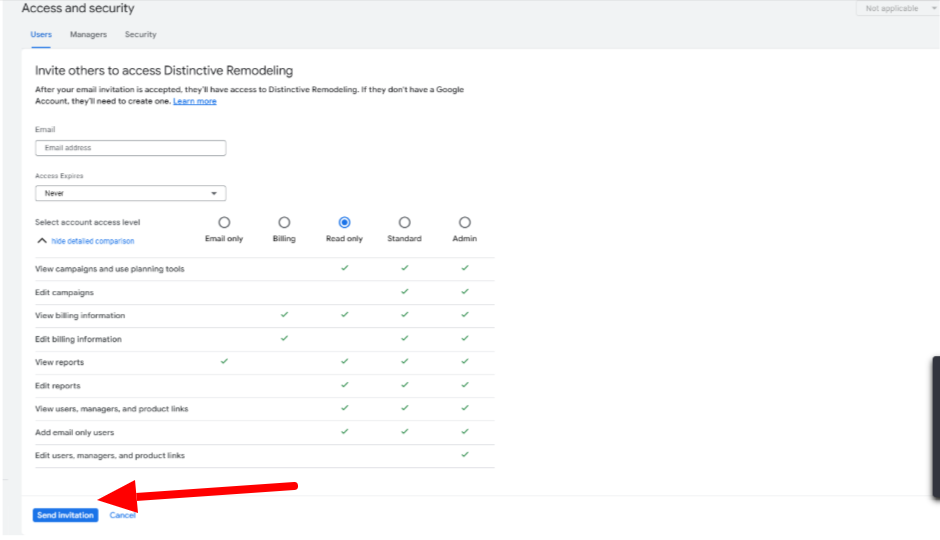
In the Add User window that pops up, enter the email address( strategicpointanalytics@gmail.com ) for the person you need to add in the email field, and select the appropriate permissions level. Then click the Add button to complete the process.
There are three permission level options to choose from when you add a user to a Google Search Console property:
Owner
Every Search Console Property has to have at least one Verified Owner (a user that has completed the property verification process). Additional users with Owner level permissions are classified as Delegated Owners.
Full
Users with Full permissions have view access to all data, and can perform some actions including verifying fixes, submitting URL indexing requests.
Restricted
Restricted users have view only access to most data.
Google AdWords


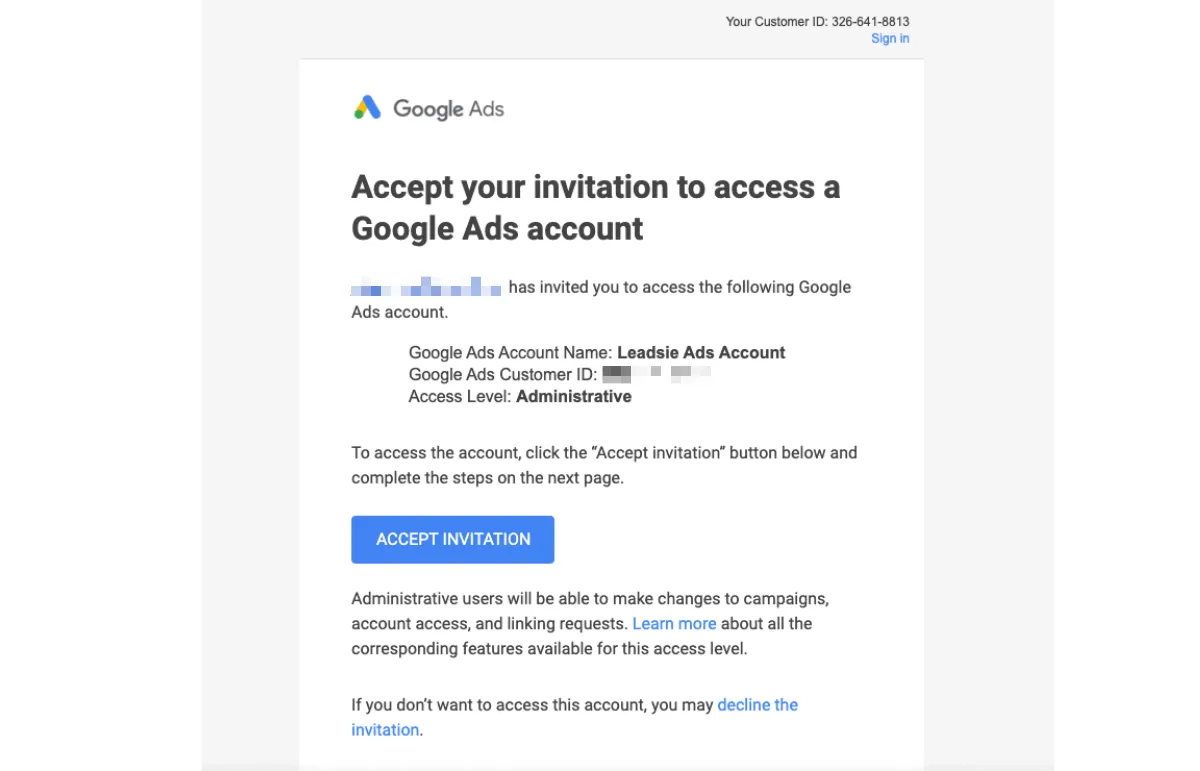
Most agencies or partners will probably want to use a different way to connect through a Google Ads Manager account (formerly known as an MCC). Using this method, you give access by accepting an invitation your partner will send to you.
Google Business Listing
There are three roles to choose from.
Owners can do anything in the account. Anyone managing your listings, including removing your duplicate listings, will need this level of access. This is what we’ll be asking for.
Managers can do almost everything owners can do, but they can’t add or remove users, nor can they remove listings. Why wouldn’t you give agency owners this level of access? Because having the ability to remove listings can become important, depending on your needs, as can having the ability to add additional users. We once had a client lose access to their account when the sole employee with Owner access left the company. Since we had only been given Manager access, we were unable to add another employee. All of the listings had to go through the verification process all over again for the client to fully re-gain access to the account.
Site Managers may only work with the content. For example, they can post light edits on your behalf, push out posts, respond to reviews, and download insights. This level of access is suitable for an intern, assistant, customer service specialist, or virtual assistant who might be responsible for handling review responses and keeping post content fresh.
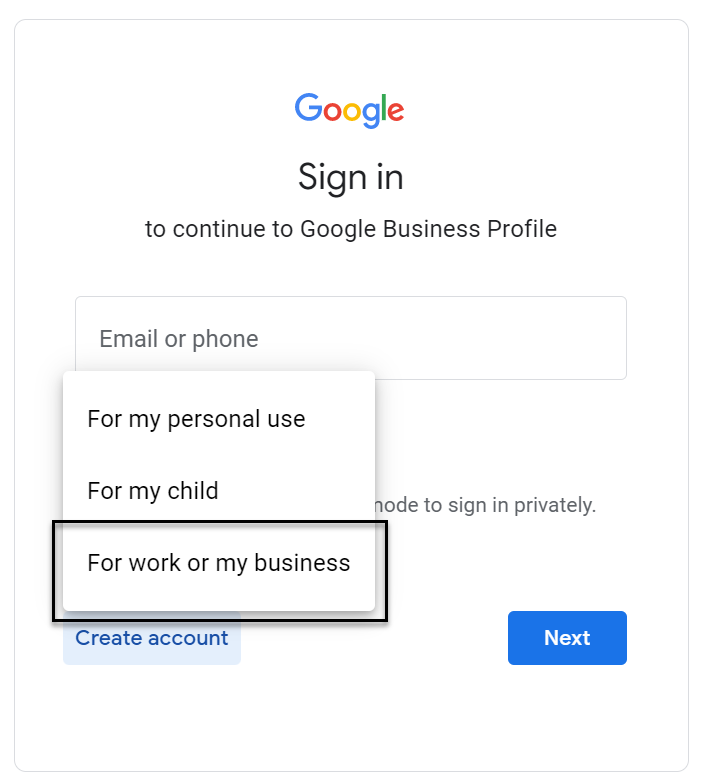
Sign into Google Business Profile and you’ll see the dashboard below.
Click on the name of the location to open it.

If you only have one location, you will not be shown this screen.
If you are logged into the wrong Google Business Profile account, either you won’t see your location, or you’ll see a screen asking “What’s the name of your business?”
If you have multiple locations, you’ll need to repeat these steps to share access for each location separately.

Once you do, you’ll get a pop-up box. It’s going to show the names of everyone who already has access, and their current roles.
Now you’ll get the option to enter an email address.

Add this email address – strategicpointanalytics@gmail.com

Verify we have access.
